
Curious about a budget-friendly DIY makeover for your space? Check out our latest blog post, “DIY Ceramic Tile Reface: A Step-by-Step Tutorial.” This guide not only unveils the secrets to transforming your space but also offers the satisfaction of a hands-on home upgrade. Join us for a DIY adventure and discover how to breathe new life into your surroundings. Ready to turn your vision into reality? Let’s dive into the world of ceramic tile reface together!
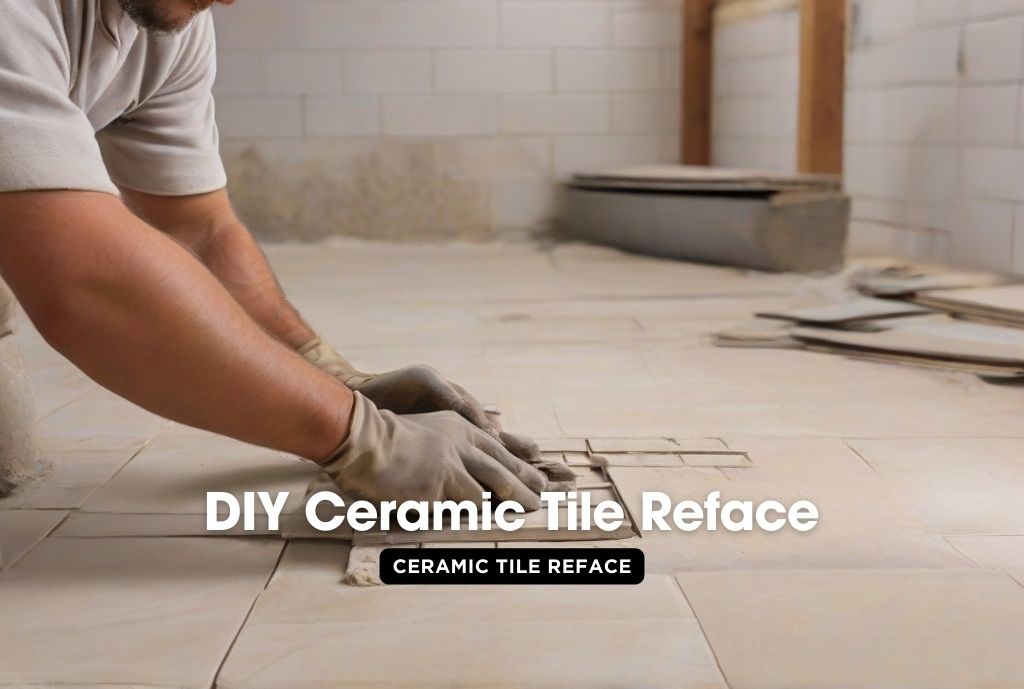
Preparing Your Space for a Seamless Ceramic Tile Refacing
Embarking on a ceramic tile refacing project is like getting ready for a big performance – preparation is key to a successful show. Let’s dive into the essential steps to ensure your space is a stage ready for a seamless and stunning tile transformation.

1. Clear the Decks: Before the curtain rises, declutter and remove any obstacles. It’s like creating a blank canvas for your tile masterpiece. Remove furniture, rugs, and any items that could impede your progress.
2. Clean and Smooth: Imagine a smooth dance floor for your tiles – that’s what your existing surface should be. Clean thoroughly to ensure the adhesive bonds flawlessly. It’s like providing the perfect foundation for a flawless performance.
3. Patch and Repair: Address any cracks or imperfections in the existing tiles. Think of it as rehearsing the choreography – every step needs to be smooth. Patching and repairing ensure your surface is ready to shine.
4. Measure Twice, Cut Once: Take precise measurements before cutting your new tiles. It’s like tailoring a costume for the lead actor – accuracy is crucial for a polished result.
In conclusion, preparing your space for a ceramic tile refacing project is akin to the meticulous preparation before a grand performance. By clearing the decks, cleaning and smoothing the surface, patching imperfections, and measuring accurately, you set the stage for a seamless and stunning tile transformation.
Ready for the show? Let the ceramic tile refacing performance begin!
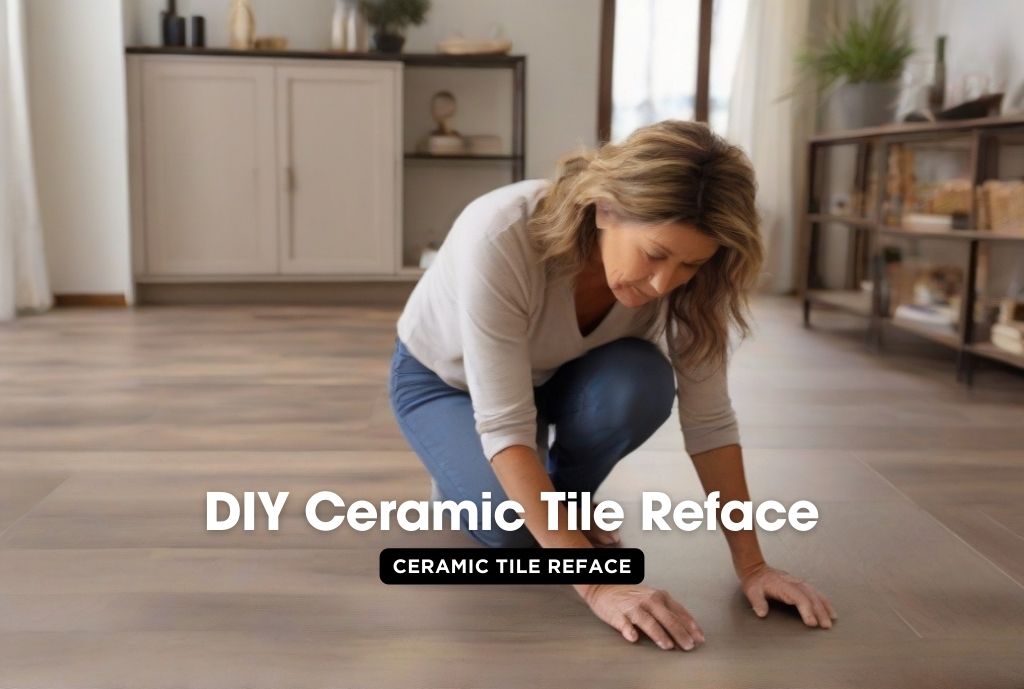
Assessing the Health of Your Existing Tiles
Think of it like a health check-up for your floors – ensuring they’re ready for the rejuvenation treatment. Let’s explore the essential steps to evaluate your tiles and set the stage for a successful refacing venture.

1. The Cleanliness Litmus Test: Start by giving your tiles a good cleaning. Are stubborn stains playing the role of unwelcome guests on your floor stage? A thorough cleaning helps identify areas that need extra attention.
2. Structural Integrity Spotlight: Inspect for cracks and chips – the telltale signs of wear and tear. Are your tiles holding up or showing signs of fatigue? Identifying structural issues ensures you can address them before the refacing performance begins.
3. Adhesion Audit: Check for loose or detached tiles. It’s like making sure all members of the dance troupe are in sync. Ensuring strong adhesion guarantees a seamless performance during the refacing process.
In conclusion, assessing the condition of your existing tiles is the first act in the ceramic tile refacing story. By conducting a cleanliness litmus test, shining a spotlight on structural integrity, and auditing adhesion, you set the stage for a successful makeover. Ready to revive your floors? Let the assessment curtain rise!
The Comprehensive Guide to Ceramic Tile Reface: Elevate Your Home Design
Common Issues Found in Existing Tiles
Embarking on a tile refacing project is like preparing for a home makeover, but what drama might unfold on the existing tile stage? Let’s play detective and uncover the common issues that often lurk beneath the surface.
1. Stain Storylines: Ever noticed stubborn stains that seem to have taken up residence? It’s like dealing with unexpected guests who have overstayed their welcome. Identifying these stains helps us prepare the eviction notice.
2. The Drama of Cracks and Chips: Cracks and chips in tiles are like plot twists in a suspenseful novel. Are your tiles revealing signs of wear and tear? Identifying these structural issues allows us to mend the script before the refacing performance.
3. Detached Tile Dilemmas: Loose or detached tiles can disrupt the harmony of your floor ensemble. It’s akin to a dance troupe missing a beat. Addressing these adhesion issues ensures a seamless and coordinated performance during the refacing process.
Signs Your Floors Are Begging for Immediate Refacing
Ever felt like your tiles are sending distress signals? It’s time to decode the signs that scream, “Reface me!” Think of it as a rescue mission for your floors. Let’s explore the red flags that indicate your tiles are in desperate need of an immediate makeover.

1. The Stain S.O.S.: Stubborn stains refusing to budge? It’s like a cry for help from your tiles. Immediate refacing can rescue your floors from the clutches of unsightly spots, giving them a fresh lease on life.
2. Structural S.O.S.: Cracks and chips playing the role of drama queens on your floors? It’s the structural S.O.S. If your tiles are showing signs of wear and tear, refacing becomes the superhero swooping in to save the day.
3. Adhesion Alarm: Are tiles playing the detachment game, creating an uneven dance floor? It’s the adhesion alarm. Refacing ensures a strong bond, turning your floor into a harmonious stage for the upcoming makeover performance.
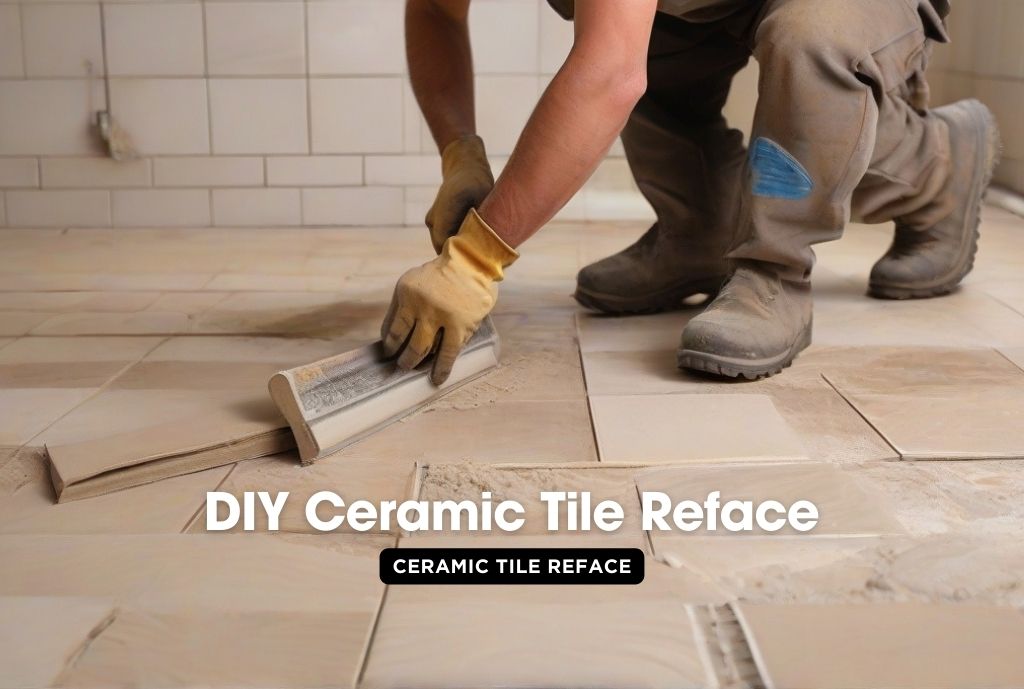
Essential Steps in Surface Preparation for Ceramic Tile Reface
Preparing your floor for a ceramic tile refacing project is like laying the foundation for a new adventure. Before diving into the creative process, let’s explore the crucial steps in surface preparation that set the stage for a successful makeover.
1. Clear the Canvas: Imagine an artist starting with a clean canvas. The first step is clearing the space of furniture and any obstacles. It’s like creating an empty stage where the tiles can take center stage.
2. Scrub-a-Dub-Dub: A good scrubbing session is the backstage pass for your tiles. It’s like giving them a spa day, removing any dirt or grime that might disrupt the performance.
3. Patch and Fill: Addressing cracks and imperfections is like the makeup session for your tiles. Patch and fill to ensure a smooth surface, ready to showcase the beauty of the new tiles.
4. Measure Twice, Cut Once: Precise measurements are the rehearsals before the big performance. Measure twice to avoid any hiccups in the refacing routine. It’s like ensuring the costumes fit perfectly for the grand reveal.
In conclusion, the essential steps in surface preparation for a ceramic tile refacing project are the backstage rituals that make the main event shine. By clearing the canvas, giving your tiles a thorough scrub, patching and filling, and measuring with precision, you pave the way for a flawless and fabulous tile transformation.
I want to renew my parquet. Your content has inspired me.